Tag: Insulation

  • Stabilizing Heat & Humidity in Icehouse

    Stabilizing Heat & Humidity in Icehouse

    I started an update a couple of weeks back that never made it out of the nest. An unfledged fledgling… At issue? Heat and humidity stabilization in the icehouse to properly acclimatize lumber pre-installation.

    Temporary LP Monitor Heater (Photo: R.P. Murphy)
    Temporary LP Monitor Heater (Photo: R.P. Murphy)

    Given a few savvy questions about how we planned to install finish woodwork (flooring, paneling, etc.) in the icehouse — which until recently still had no heat and still had leaky apertures where windows and doors won’t be installed until May — I had initiated a quick explanation for how we planned to temporarily stabilize the temperature and humidity to ensure predictable, effective lumber acclimatization. Initiated but then neglected. The questions have continued, mostly from carpenters a others savvy to the expansion and contraction of wood. So I’m returning to the topic, better late than never?!?! The silver lining? Our plan for stabilizing the heat and humidity was implemented a couple of weeks ago. And it’s working well.

    Stabilizing Heat & Humidity in Icehouse (Photo: R.P. Murphy)
    Stabilizing Heat & Humidity in Icehouse (Photo: R.P. Murphy)

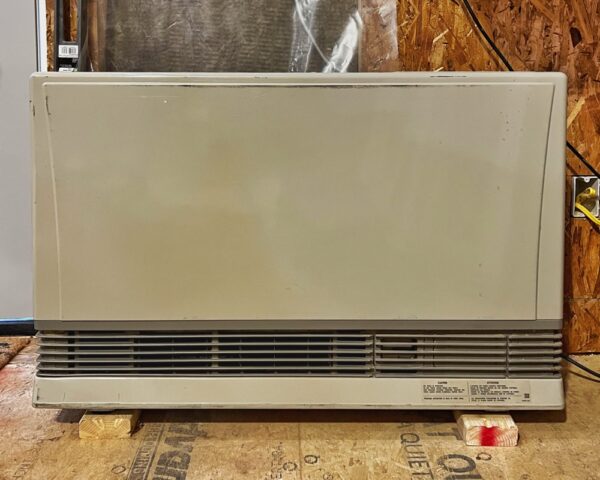
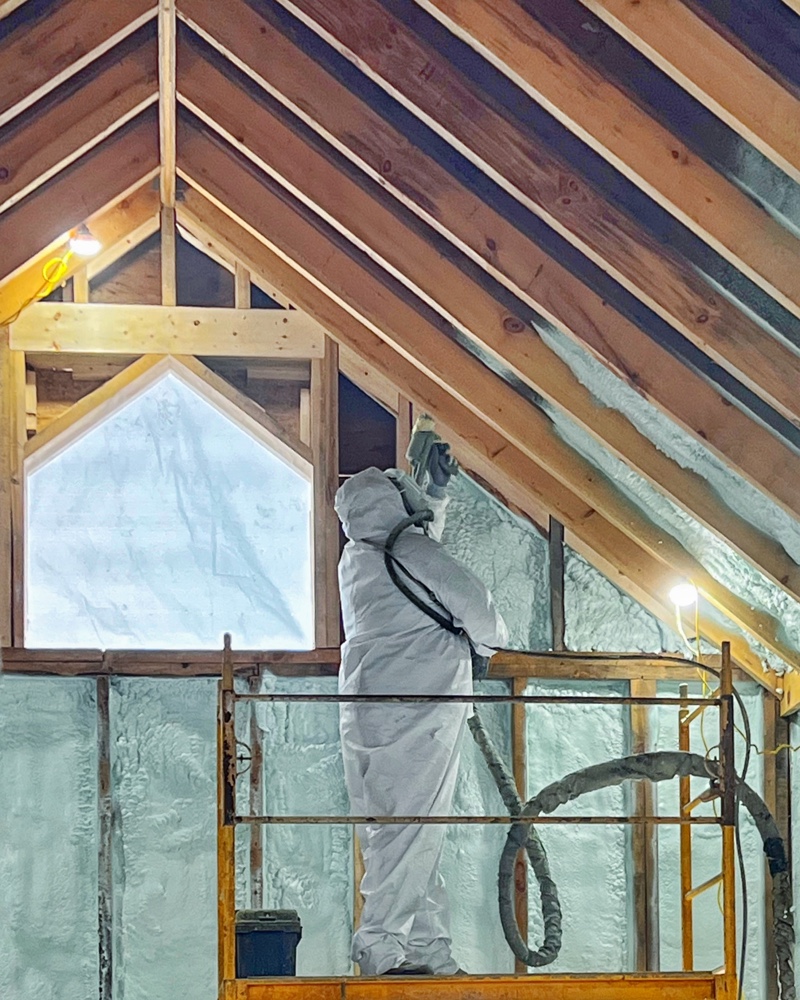
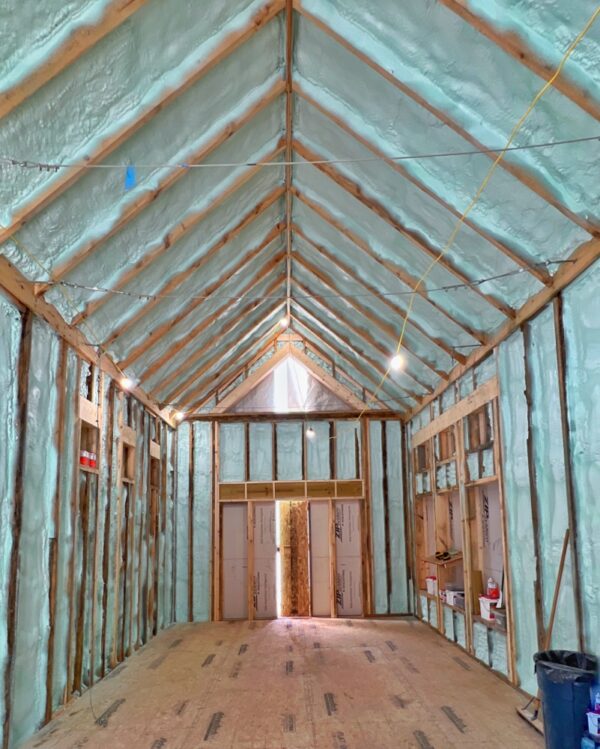
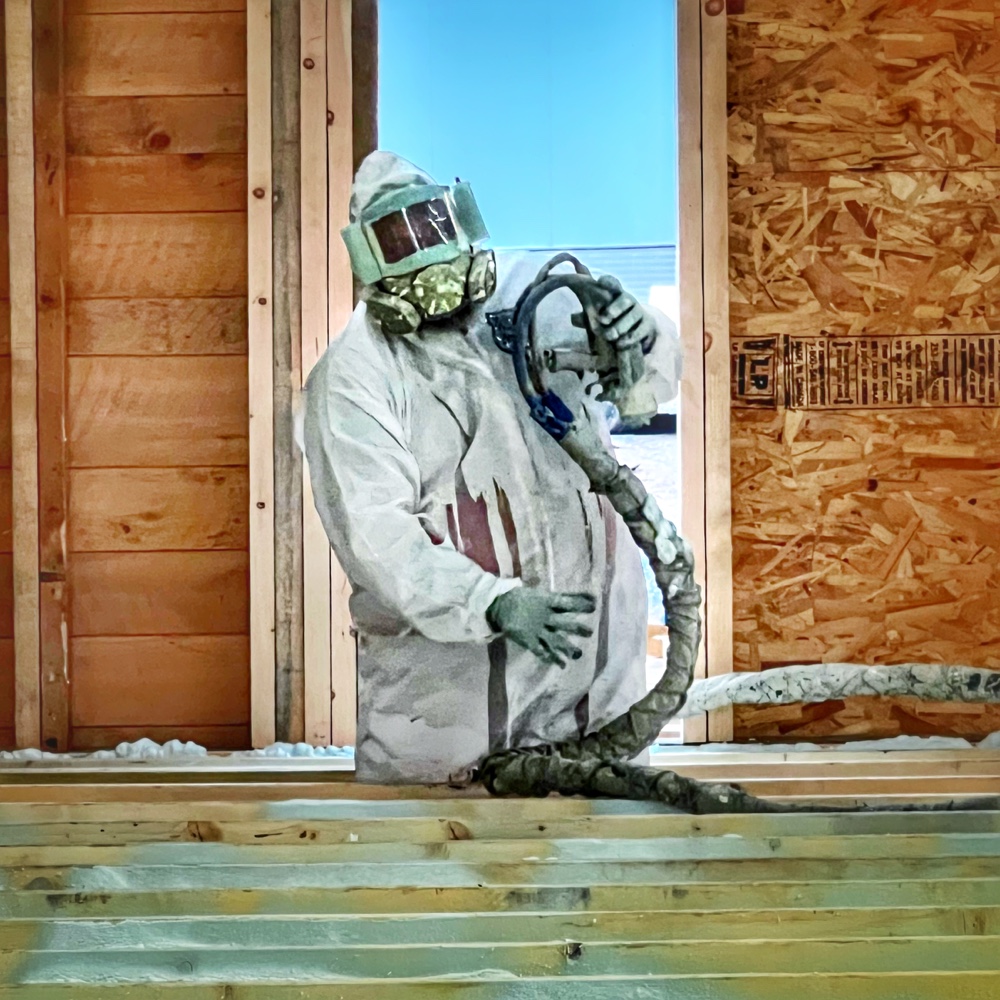
    After my last visit Eric and Peter coordinated, source, installed efficient LP monitor heater that is thermostatically controlled and piped temporarily to an external propane tank. This setup, in conjunction with well insulated apertures, has effectively enabled us to stabilize the interior of workspace for the coming months, creating a heat and humidity controlled “envelope” where temperature and moisture are stable so that finish lumber can be properly acclimatized.

    Another positive twist of fate: Eric was able to source an oversized monitor heater (more than satisfying our BTU needs for the small space) that had been previously but lightly used at a discounted price. Win, win. Hurrah, Eric!

    Stabilizing Heat & Humidity in Icehouse (Photo: R.P. Murphy)
    Stabilizing Heat & Humidity in Icehouse (Photo: R.P. Murphy)

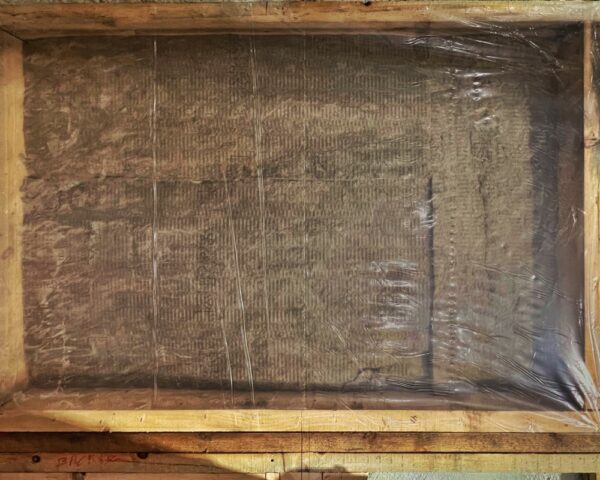
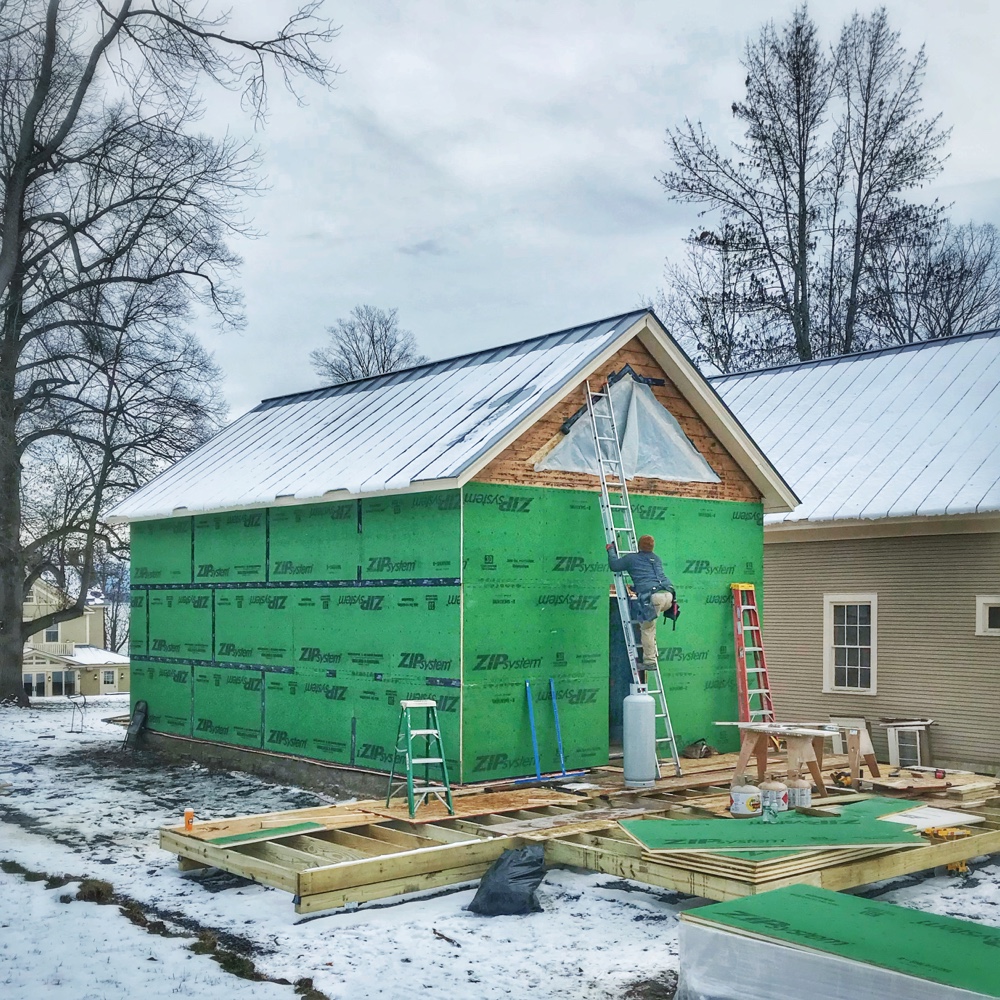
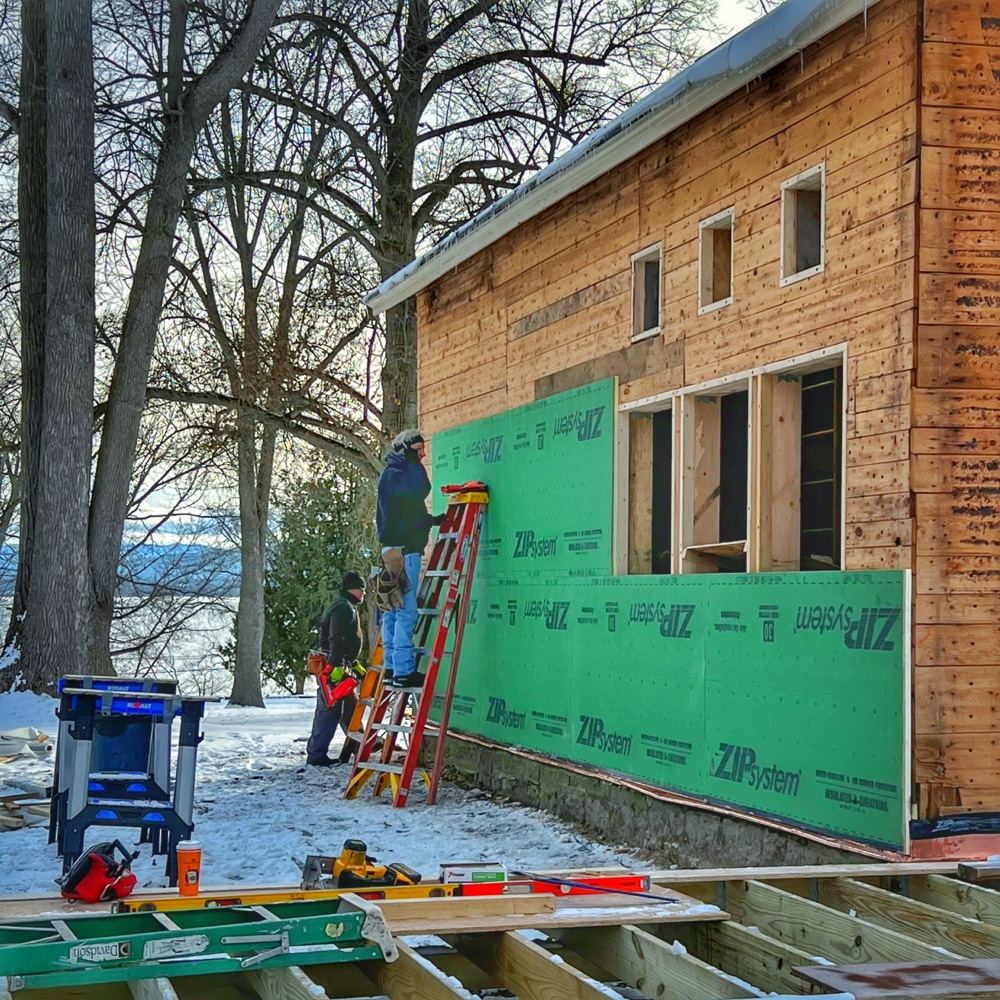
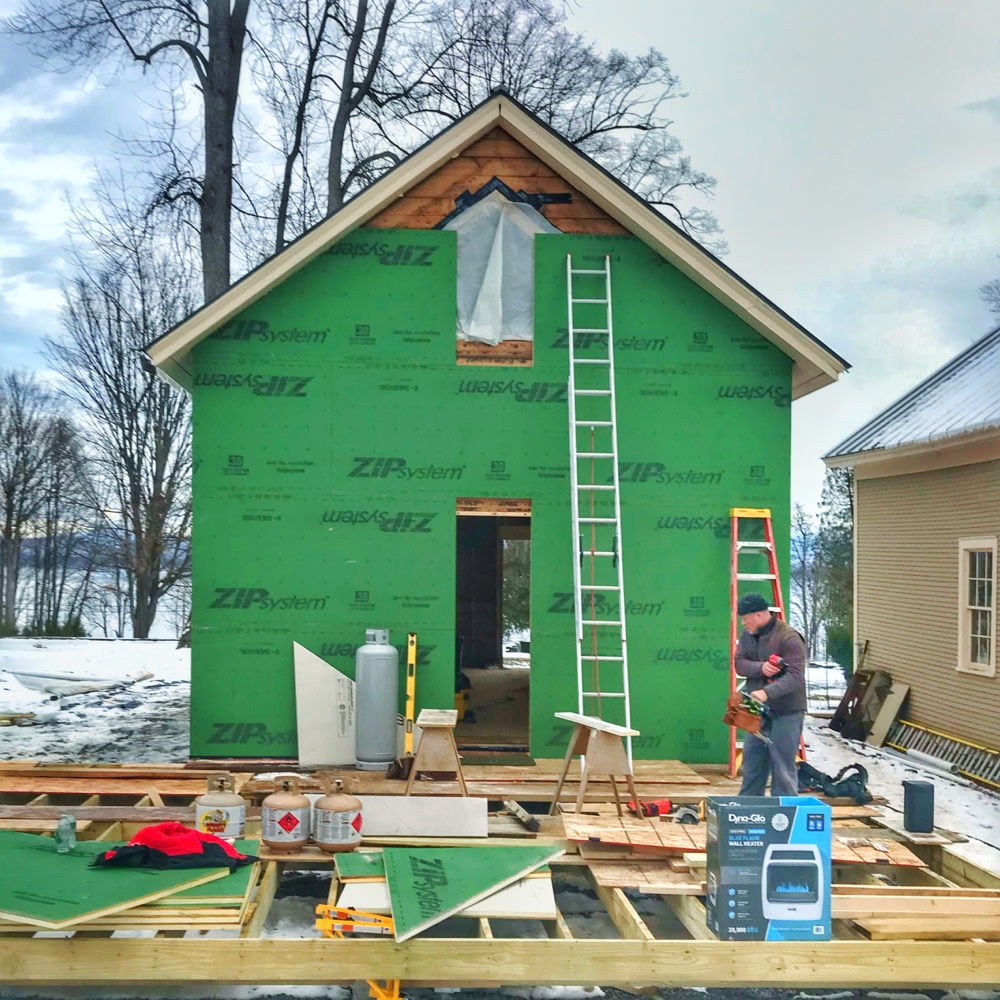
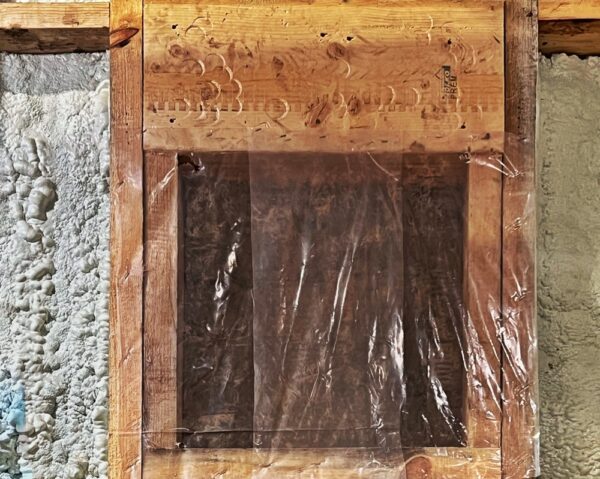
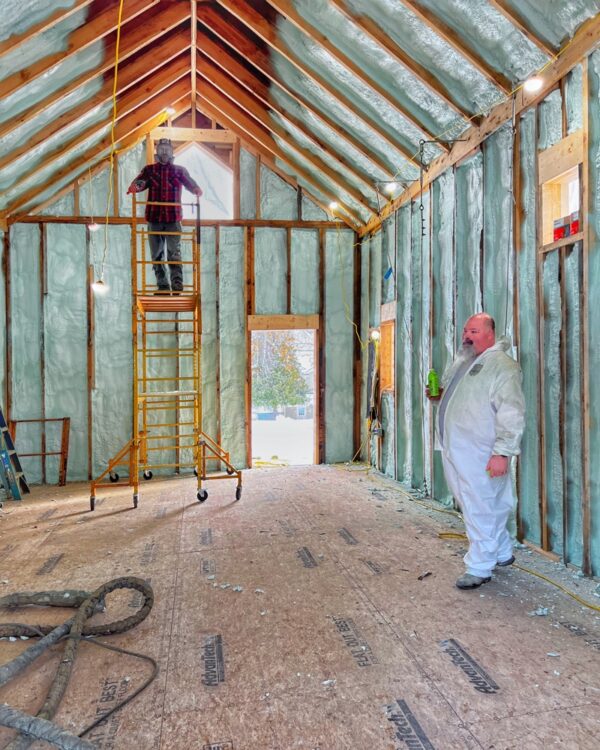
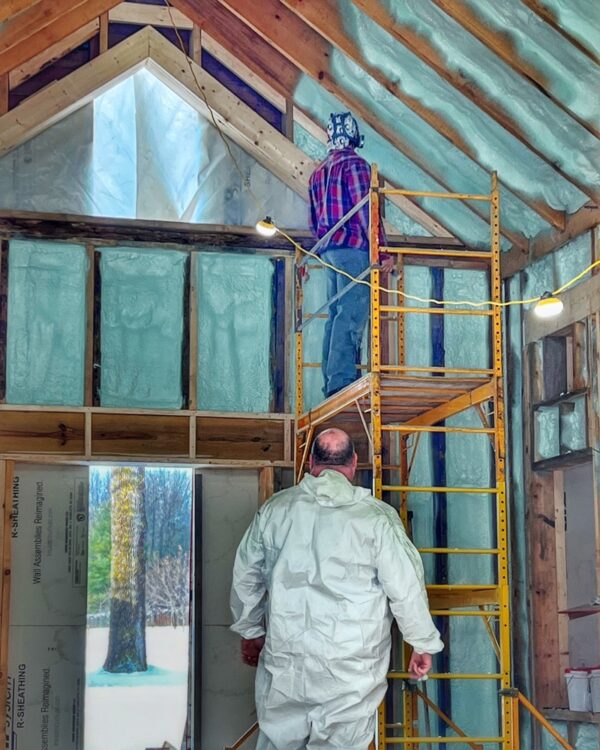
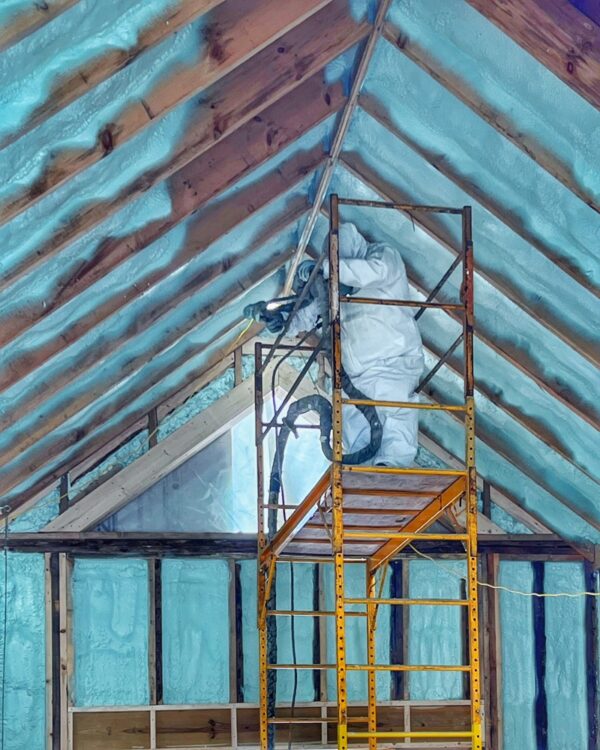
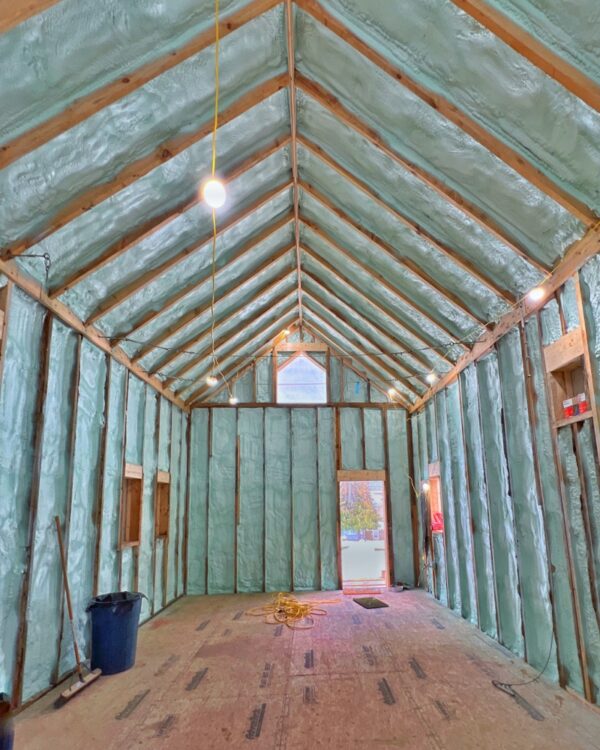
    The photo at the top of this post is the monitor heater, and the next two photographs show examples of interior vapor/air barriers (plus rock wool insulation) that were added to the apertures. Window and door framing was undertaken prior to installation of the ZIP System paneling, so there was already a decent barrier in place for these apertures. But we needed to further improve thermal and moisture barriers, especially on the north and west elevations where ample fenestration made it more challenging to control the interior work environment 24×7.

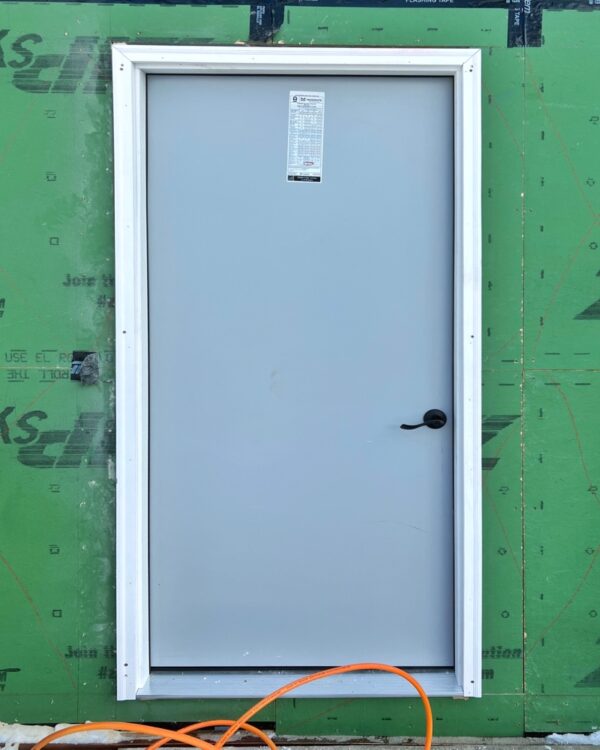
    With the monitor installed and working well and the interior/exterior barrier effectively controlled, there remained one additional temporary-but-important complement: a secure, functional access for day-to-day work. Ad-hoc closure systems had been adequate early on, but it was time to install a convenient but lockable, well insulated, pre-hung exterior door.

    Temporary Exterior Door (Photo: R.P. Murphy)
    Temporary Exterior Door (Photo: R.P. Murphy)

    Kudos to Peter and Eric buttoning up the space to ensure forward progress over the last couple of weeks. I’m looking forward to witnessing firsthand tomorrow afternoon the hardwood flooring (beech) in the loft, for example, an accomplishment that was possible only once the heat and humidity stabilization was complete and the materials had acclimated on site for a couple of weeks.

  • Icehouse Insulation Installation Complete

    Icehouse Insulation Installation Complete

    Phew. With Rosslyn’s icehouse insulation installation complete we can collectively exhale, confident and warm. Today I’d like to offer huge holiday shoutout to Kevin and Joe from Adirondack Spray Foam for wrapping up 2022 with the winter-proof armor we need to keep the icehouse project going fullbore over the coming months. Bravo!

    Installing Spray Foam in Icehouse Ceiling (Photo: R.P. Murphy)
    Installing Spray Foam in Icehouse Ceiling (Photo: R.P. Murphy)

    Some progress is pretty. Framing new window aprtures, for example. And some progress is practical. Installing helical piers, for example. Insulation installation is *indisputably* in this second category. And yet, aaahhh… What a relief to have the first phase of insulation complete! (Source: 1st Floor Insulation Installation and Subfloor)

    Those were my thoughts a couple of weeks ago when we started installing spray foam insulation. If phase one was a relief, completion is resoundingly reassuring, like a bear hug from the universe. Things are going to be alright. Winter will huff and puff, maybe even blast us with blizzards and deep freezes. But we’re cocooned snuggly inside a protective force field.

    Installing Spray Foam in Icehouse Ceiling (Photo: R.P. Murphy)
    Installing Spray Foam in Icehouse Ceiling (Photo: R.P. Murphy)

    And combine the insurance of a thoroughly spray foamed building with the just completed ZIP System insulated sheathing swaddling is from the outside in? Aaahhh… It’s warming to just think about it. Ongoing rehab can continue afoot despite the taunts of our Adirondack Coast winter.

    Installing Spray Foam in Icehouse Ceiling (Photo: R.P. Murphy)
    Installing Spray Foam in Icehouse Ceiling (Photo: R.P. Murphy)

    As I’ve explained previously, we installed 1-1/2” structural insulated panels on the exterior which provides R-6. The 3” of spray foam inside the walls adds another R-21, and there’s a bonus between the two synthetic insulation barriers. When the size house was built in the late 1800s, they filled the interior 2 x 6 walls with wood shavings for insulation. Although we removed all of that in 2006 while remediating rot, the exterior of the framing was sheathed in two laters of T&G separated by about an inch baffled with shredded newsprint enveloped in tarpaper. So these walls should now do a remarkable job of keeping winter cold out, and summer cool in.

    What about the roof?

    Adirondack Spray Foam installed 7” on insulation between the rafters which will amount to an R-49 thermal barrier sandwiched between the ceiling and the roof.

    Installing Spray Foam in Icehouse Ceiling (Photo: R.P. Murphy)
    Installing Spray Foam in Icehouse Ceiling (Photo: R.P. Murphy)

    A decade and a half ago we wrestled with the best way to balance insulate Rosslyn. Ultimately, we concluded that our historic rehabilitation needed to balance heritage and environmental responsibility. Although we also use recycled denim insulation and mineral wool when appropriate, we’ve come to trust the energy efficiency of spray foam.

    Insulation Installation Complete in Time for Winter

    And then it was done. With our insulation installation complete, we can rest a little easier. January will inevitably plunge us into all manner of meteorological challenges, but we’re now in a much better position to power forward.

    Insulation Installation Completed by Adirondack Spray Foam (Photo: R.P. Murphy)
    Insulation Installation Completed by Adirondack Spray Foam (Photo: R.P. Murphy)

    Although blue green doesn’t exactly *look* warm, the icehouse now can be warmed with a space heater. We’ll see if reality meets expectation this week.

    Insulation Installation Completed by Adirondack Spray Foam (Photo: R.P. Murphy)
    Insulation Installation Completed by Adirondack Spray Foam (Photo: R.P. Murphy)

    In addition to wall-to-wall insulation these last two photos capture the post cleanup tidiness. It’s the perfect tabula rasa to start framing this week.

    Spray Foam Insulation Mashup

    Let’s curtain call this post with an almost meditative mashup of the last lap of spray foam installation.

    https://www.instagram.com/reel/Cmp97yYB_hi/?igshid=YmMyMTA2M2Y=

    Thanks, Kevin and Joe.

  • Icehouse Rehab 8: 1st Floor Insulation Installation and Subfloor

    Icehouse Rehab 8: 1st Floor Insulation Installation and Subfloor

    Icehouse Insulation Installation Begins (Photo: R.P. Murphy)
    Icehouse Insulation Installation Begins (Photo: R.P. Murphy)

    Some progress is pretty. Framing new window aprtures, for example. And some progress is practical. Installing helical piers, for example. Insulation installation is *indisputably* in this second category. And yet, aaahhh… What a relief to have the first phase of insulation complete!

    Icehouse Insulation Installation Progress (Photo: R.P. Murphy)
    Icehouse Insulation Installation Progress (Photo: R.P. Murphy)

    The crawlspace beneath the main floor is now isolated from what will become the first floor by a whole lot of insulation. If you look closely in the photo above you’ll see small furring strips installed at the bottom of the floor joist. We installed 2″ rigid foam insulation board on top of these and then sprayed in XXX of closed cell foam insulation.

    Icehouse Subfloor Installation Begins (Photo: R.P. Murphy)
    Icehouse Subfloor Installation Begins (Photo: R.P. Murphy)

    Because this is an historic rehabilitation project, preserving the original stone foundation was critical. Successfully pinning the new foundation to the old (ensuring structural integrity for new construction) prevented us from isolating the thermal bridge (old stone foundation plus new concrete foundation and slap). So we framed in a gap around the entire perimeter of the building that allowed us to create a spray foam insulation barrier, minimizing the transfer of cold exterior temperatures during the wintertime. We also foamed the entire curb inside the crawlspace, to further isolate the thermal bridge and reduce interior and exterior temperature exchange. The photo above shows the framing gap around the perimeter, filled with foam insulation.

    After Insulation Installation…

    Once the spray foam insulation installation was complete, it was time for a subloor.

    Icehouse Subfloor Installation Progress (Photo: R.P. Murphy)
    Icehouse Subfloor Installation Progress (Photo: R.P. Murphy)

    Supi guided this important step forward so that we can set up staging to frame the west and east gable end windows.

    Icehouse Subfloor Installation Almost Complete (Photo: R.P. Murphy)
    Icehouse Subfloor Installation Almost Complete (Photo: R.P. Murphy)

    In this final photo you can see the last narrow strips of subfloor are about to be installed. Not bad for a day’s work!

    Insulation Installation and Subfloor Mashup

    Haven’t done an exceptionally thoughtful writeup with this post, so perhaps remixing into a begin-to-end recap of the first phase insulation installation and subfloor installation will fill in some gaps. Hope so!

    https://www.instagram.com/reel/Cl_Sk_Gg7Xo/

    Thanks to Kevin’s spray foam insulation team and everyone else who helped us to reach this next significant milestone. Just imagine once the walls and roof are insulation and the ZIP System panels are installed around the interior exterior envelope. Might start to warm up a little…

  • Zipping Up the Icehouse

    Zipping Up the Icehouse

    Zipping Up the Icehouse (Photo: R.P. Murphy)
    Zipping Up the Icehouse (Photo: R.P. Murphy)

    Nothing like a region-wide winter weather system barreling down on you to accelerate winter-proofing the construction site, right?!?! But racing the arrival of a pre-Christmas blizzard isn’t the only motivation for the sudden transformation from 100+ year old T&G sheathing to green ZIP System insulated panels though. We’ve been working toward this goal for weeks. Zipping up the icehouse is actually accomplishing several objectives at once.

    Okay, let’s start with the most obvious, short term, practical objective of installing the insulated panels on the exterior of the building. But first, I should qualify what I meant by transforming “100+ year old T&G sheathing to green ZIP System insulated panels.” In this case, transformation does not imply replacing the existing sheathing with the SIPs. Instead, these insulated panels are being installed over top of the existing sheathing. And, as explained previously, the existing sheathing for the icehouse exterior walls is actually two layers of 3/4” T&G sheathing separated by perpendicular furring strips that accommodate ooolllddd school insulation that appears to have been made from shredded newsprint.

    Given midwinter construction, adding the ZIP panels efficiently creates a building envelope around the entire structure, allowing interior climate control. Windows and doors will not be delivered and installed until springtime, so this cocoon will stabilize the temperature and humidity for construction while significantly improving the work environment.

    Zipping Up the Icehouse (Photo: R.P. Murphy)
    Zipping Up the Icehouse (Photo: R.P. Murphy)

    That’s the short term, practical objective.

    There are some structural benefits as well, augmenting the existing structure (which predates our modern building codes) by creating a structural exoskeleton, that, among other things, dramatically improves sheer strength.

    We’re using ZIP System 1-1/2“ thick R-6 insulated panels from Huber Engineered Wood. In addition to insulation and structural objectives, these panels also provide a moisture and air barrier between interior and exterior environments.

    ZIP System Insulated R-sheathing is the simple all-in-one structural panel with built-in exterior insulation. Featuring integrated moisture, air and thermal protection, ZIP System R-sheathing completely reimagines traditional wall assemblies by streamlining exterior water, air and thermal management.

    Huber Engineered Wood
    Zipping Up the Icehouse (Photo: R.P. Murphy)
    Zipping Up the Icehouse (Photo: R.P. Murphy)

    And there are some aesthetic benefits specific yo the icehouse. Preserving the original mortared stone foundation created meant working around inconsistencies such as spots where the framing was proud of the foundation and others where the foundation actually extended out beyond the framing. Aside from the visual incongruities, this has created moisture penetration and rot issues over the building’s many years of service. When we stabilized the structure in 2006-7 it was necessary to replace large sections of the rotten sill. Additional rehabilitation was necessary this fall as well. By adding an extra 1-1/2” skin around the exterior of the icehouse (and integrating a copper drip edge / flashing that isolates wood from masonry) the entire build now overhangs the foundation enough to manage moisture, snow, etc. for another 100+ years.

    But wait… There’s more!

    The panels are permitting us to tune up some of the geometry — wall planes and trim lines that have deviated and deflected, sagged and bowed over the years — so that the rehabbed icehouse stands proud next summer.

    https://www.instagram.com/reel/CmO3j84ALdQ/